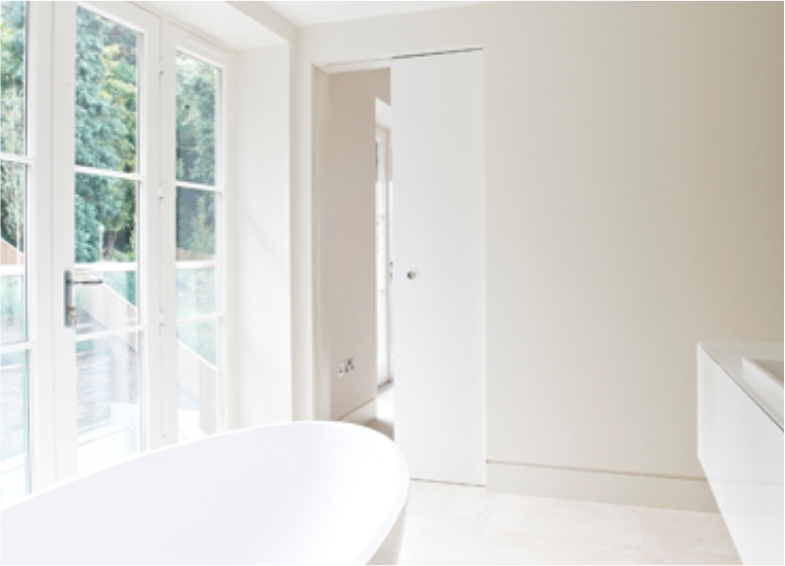
How Do You Install A Pocket Door?
The pocket door is a timeless element of interior design that is enjoying a 21st century renaissance. This is mainly due to our hunger to find practical and innovative solutions around the home and workplace. The pocket door is a simple way to create temporary divides between rooms which can be opened up as necessary, and they also create vital space in rooms which allows them to have a new purpose or multiple purposes.
So pocket doors are an efficient way to improve your home or workplace and they look stylish and unfussy, but when they disappear into the wall, how does that work? And most importantly, how are they installed?
Preparation
A big part of installing a pocket door is the preparation, in terms of:
- Space – The pocket door runs along a frame system which needs to be twice the width of the door itself. That is because the frame accommodates the door in the open position, ie. when it ‘disappears’ into the wall cavity. So you need lots of space to assemble the frame, so make sure you use a room big enough, and that you then have enough space to manoeuvre the frame into position.
- Size – Make sure you select the right size frame for the space you have and the door you want. This particularly applies to the thickness, because you need space in the wall cavity for the door and space either side for the frame. You should also allow for the overhead track when working out what size door and frame you need.
- What type of wall? You need to consider the type of wall you have and whether a pocket door is suitable. Installing a pocket door in a new-build property under construction is easy, particularly if it has stud walls, but retro-fitting in existing walls is a different matter. With a solid wall you will need to create a ‘new’ stud wall adjacent to the solid wall for the ‘pocket’, and then plasterboard it in and decorate. However, in most cases you are using a normal stud wall, which is much simpler, but you should check first for wiring or pipework, and whether this can be easily re-routed, if it can’t then installing a pocket door in this wall may not be suitable. If you have a load-bearing wall you may need to install a new header above the door, so you should seek some advice about this, if necessary.
Before installing the door
- Remove the existing door.
- Remove the plasterboard – This is essential to give you enough space to work in. You may only need to remove the plasterboard on one side of the wall, which saves you work afterwards, and you only need to remove the portion you are working with. If you are careful in removing the plasterboard, you should be able to re-fit the same sections later.
- Construct the frame – The frame should come in a package including everything you need. Most frames include the vertical and horizontal sections which can be clicked together, while some sections require screwing together, as per the instructions.
- Installing the track – The overhead track is the critical element of the pocket door system. You need to ensure that the track is securely fastened into the framework and that it is level. You should only secure it loosely until you have checked it with a spirit level. If the track isn’t level then your door will never run true and straight and you will always have problems with it. So make these adjustments now, and when you are happy it is level, fully secure the screws.
Installing the pocket door
- Mounting the door – The door should have rollers on the top edge which are used to connect with the overhead track and move the door in operation. You need to line the rollers up with the underside of the track at an angle. This may require two people. Holding the bottom of the door you need to manoeuvre the rollers until they click into place and feed onto the track. At this point you can release your hold on the bottom of the door and it should be fully connected to the track.
- Check the operation – You should run the door along the track several times to check how it operates. Any sticking points may be down to the rollers or the track needing lubricating, loose screws in the track or the track not being level. You should make all these adjustments before going any further, removing the door again if necessary.
After installing the pocket door
- Hardware – Add your hardware to the door, such as a touch latch mechanism, and any accessories such as self-closing or soft-closing fittings.
- Jambs - These are the timber sections which should be located and fitted now and act to keep the door in place, running smoothly and closing securely.
- Replacing plasterboard – Once you are completely happy with the installation and the operation of the door, you can replace the plasterboard you removed, and then of course you will need to replace any trim around the door and also redecorate.
The pocket door is a simple and robust design system which should now allow you many years of untroubled operation.